Some have asked about how I go about illustrating the Spacious Tarot cards, so I thought I'd give an insider's look into the process. Until a month ago, I strictly used a Wacom cintiq, but I've since switched over to an ipad. I continue to work in Photoshop, however, so I recommend downloading astropad so you can work PS on your tablet.
Here's how I start. A sketch!

I love working with fake, digital pencil brushes because my heart flutters over texture. From there, Carrie and I talk about the composition and make sure it's clear what w'ere trying to communicate with each card.
Next I "ink" it and drop in basic color. I use Kyle Webster brushes, usually the "rough inker comics" brush and the "big wide softy" and "big fat spongy" thing to add a little sumin' sumin'.

As you can see, there's not a lot happening at this point, so from here I start adding darker tones and some lighter tones to create contrast.

We're getting somewhere! Once I can get here, then the rest feels like frosting a cake. I usually play with tones for a bit, but after that I add details and texture, focusing on strong lighting.

Believe it or not, this almost the finished card. After adding a couple more highlights and darker shadows to give it that "pop", I do a watercolor overlay, which ever card has, so that it feels organic and deep.
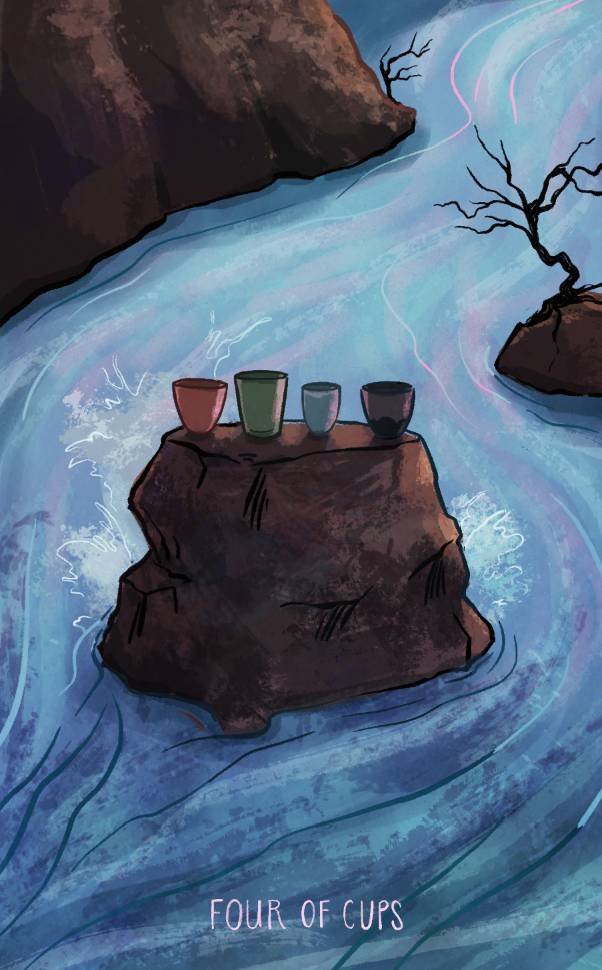
This is always where the magic happens for me. I love this particular overlay and the slight pink hue it gives to the card, bringing out the purples.
I hope you enjoyed seeing the 4 of cups in its many stages. See you soon!
-Annie